


Achieve Stunning Floors with Professional Diamond Pad Concrete Polishing
Diamond Pad Concrete Polishing: A Comprehensive Guide
Achieving a high-gloss, durable finish on concrete floors requires the right tools and techniques. Diamond pad concrete polishing is a popular method for professionals and DIY enthusiasts alike. This article will explore the process, benefits, choosing the right pads, and tips for achieving stunning results. We’ll cover everything from initial grinding to final polishing, helping you understand how to maximize the lifespan and appearance of your concrete surfaces.

Understanding the Diamond Pad Polishing Process
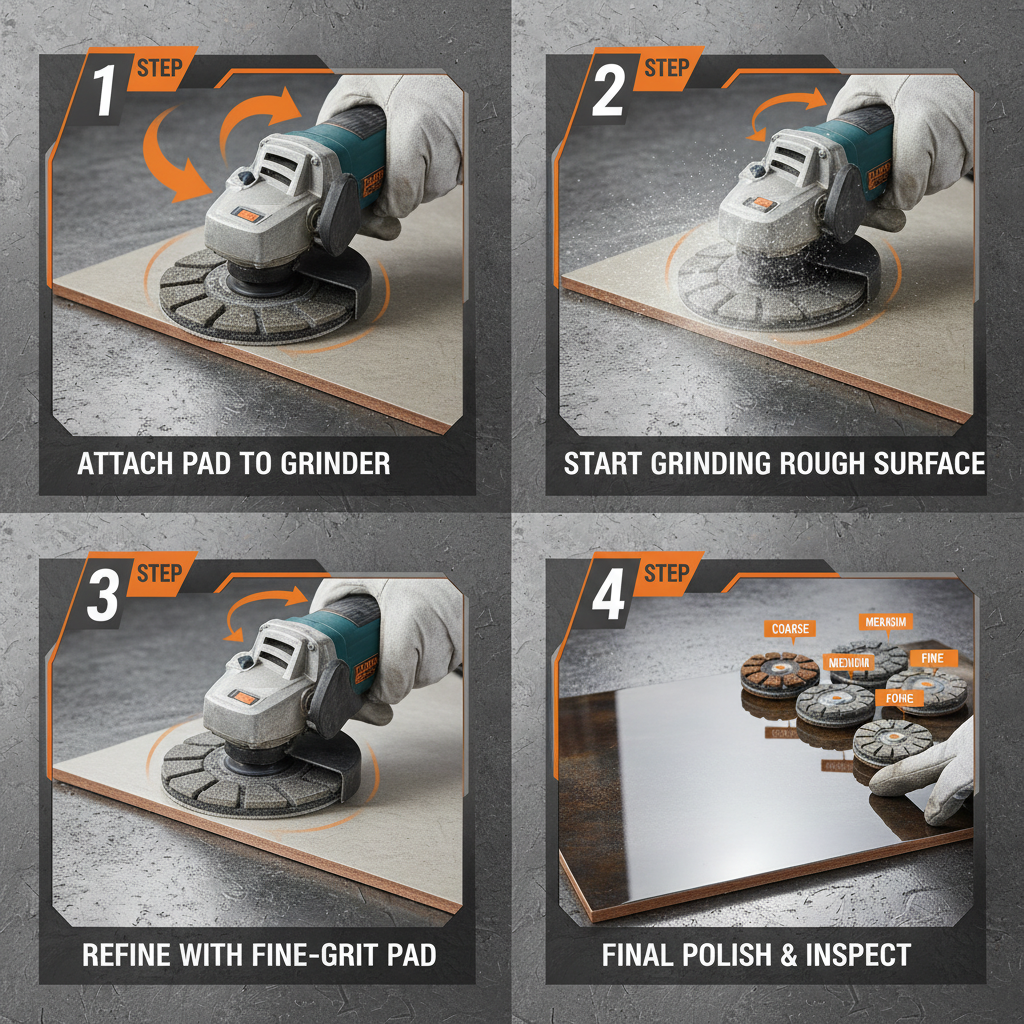
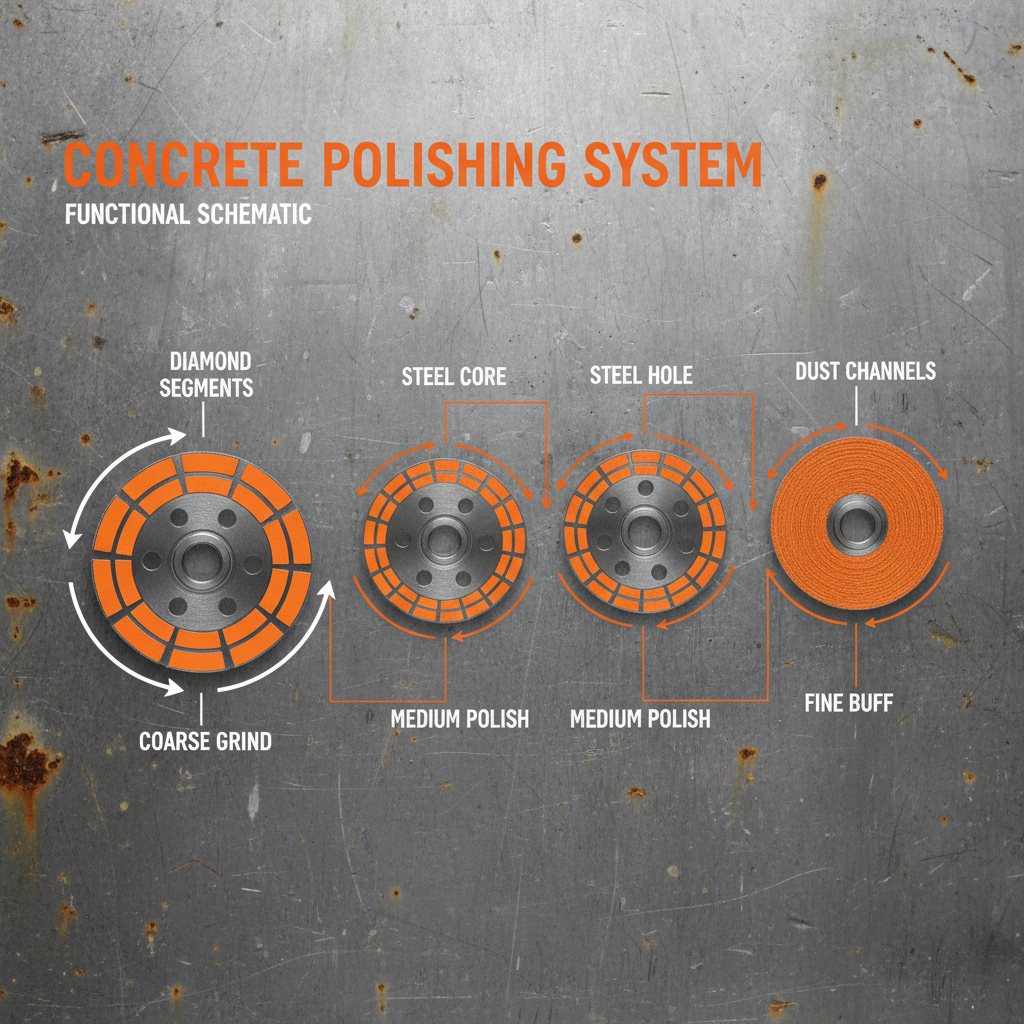
Diamond pad concrete polishing involves using a series of diamond-impregnated pads with progressively finer grits to grind, hone, and polish concrete. The process typically starts with a coarse grit to remove imperfections and then moves through finer grits to achieve a smooth, reflective surface. It’s a dust-generating process, so dust control measures (like wet polishing or a vacuum-assisted system) are essential. This method is preferred over chemical polishing because it provides a longer-lasting, more durable finish without the use of harsh chemicals. MyDiamondBlade.com offers a wide range of high-quality diamond polishing pads to suit every project.
Key Highlights: Diamond pad polishing creates a durable, long-lasting finish, enhances the concrete's natural beauty, and increases resistance to stains and wear.
Choosing the Right Diamond Polishing Pads
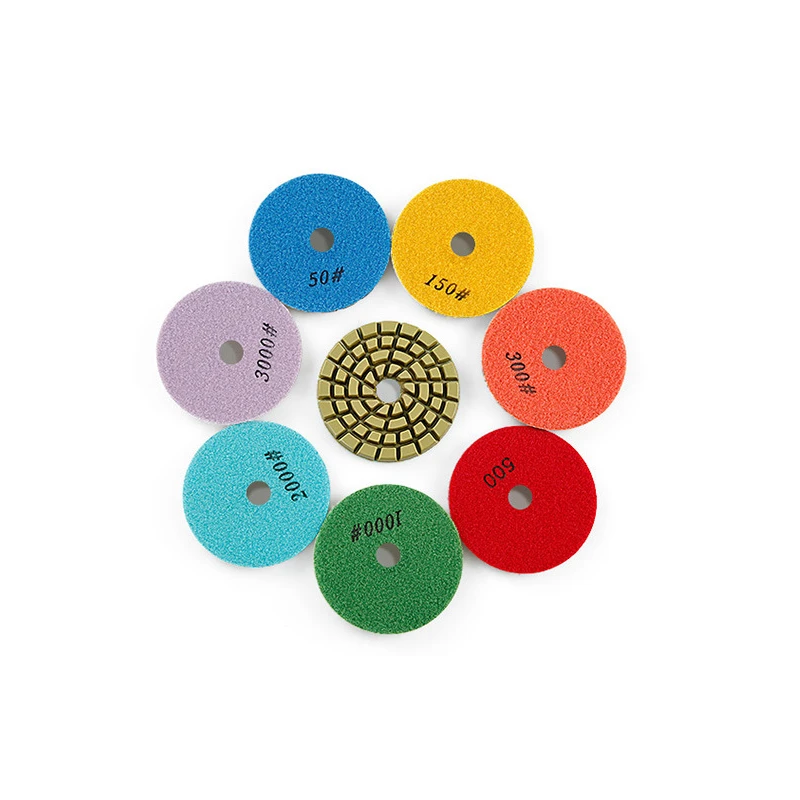
Selecting the correct diamond pads is crucial for a successful polishing job. Pads are available in various grits, materials, and bonding systems. Generally, you'll start with a coarse grit (30-50) for initial grinding, followed by intermediate grits (80-220) for honing, and finally, fine grits (400-3000) for polishing. Different pad materials, such as metal bond, resin bond, and hybrid bond, are suitable for different concrete types and desired finishes. Consider the hardness of the concrete and the level of gloss you want to achieve when making your selection.
Key Factors in Pad Selection:
• Concrete Hardness: Softer concrete requires more aggressive pads.
• Desired Gloss Level: Higher grits achieve a more polished look.
• Concrete Type: Different formulations respond differently to various pad bonds.
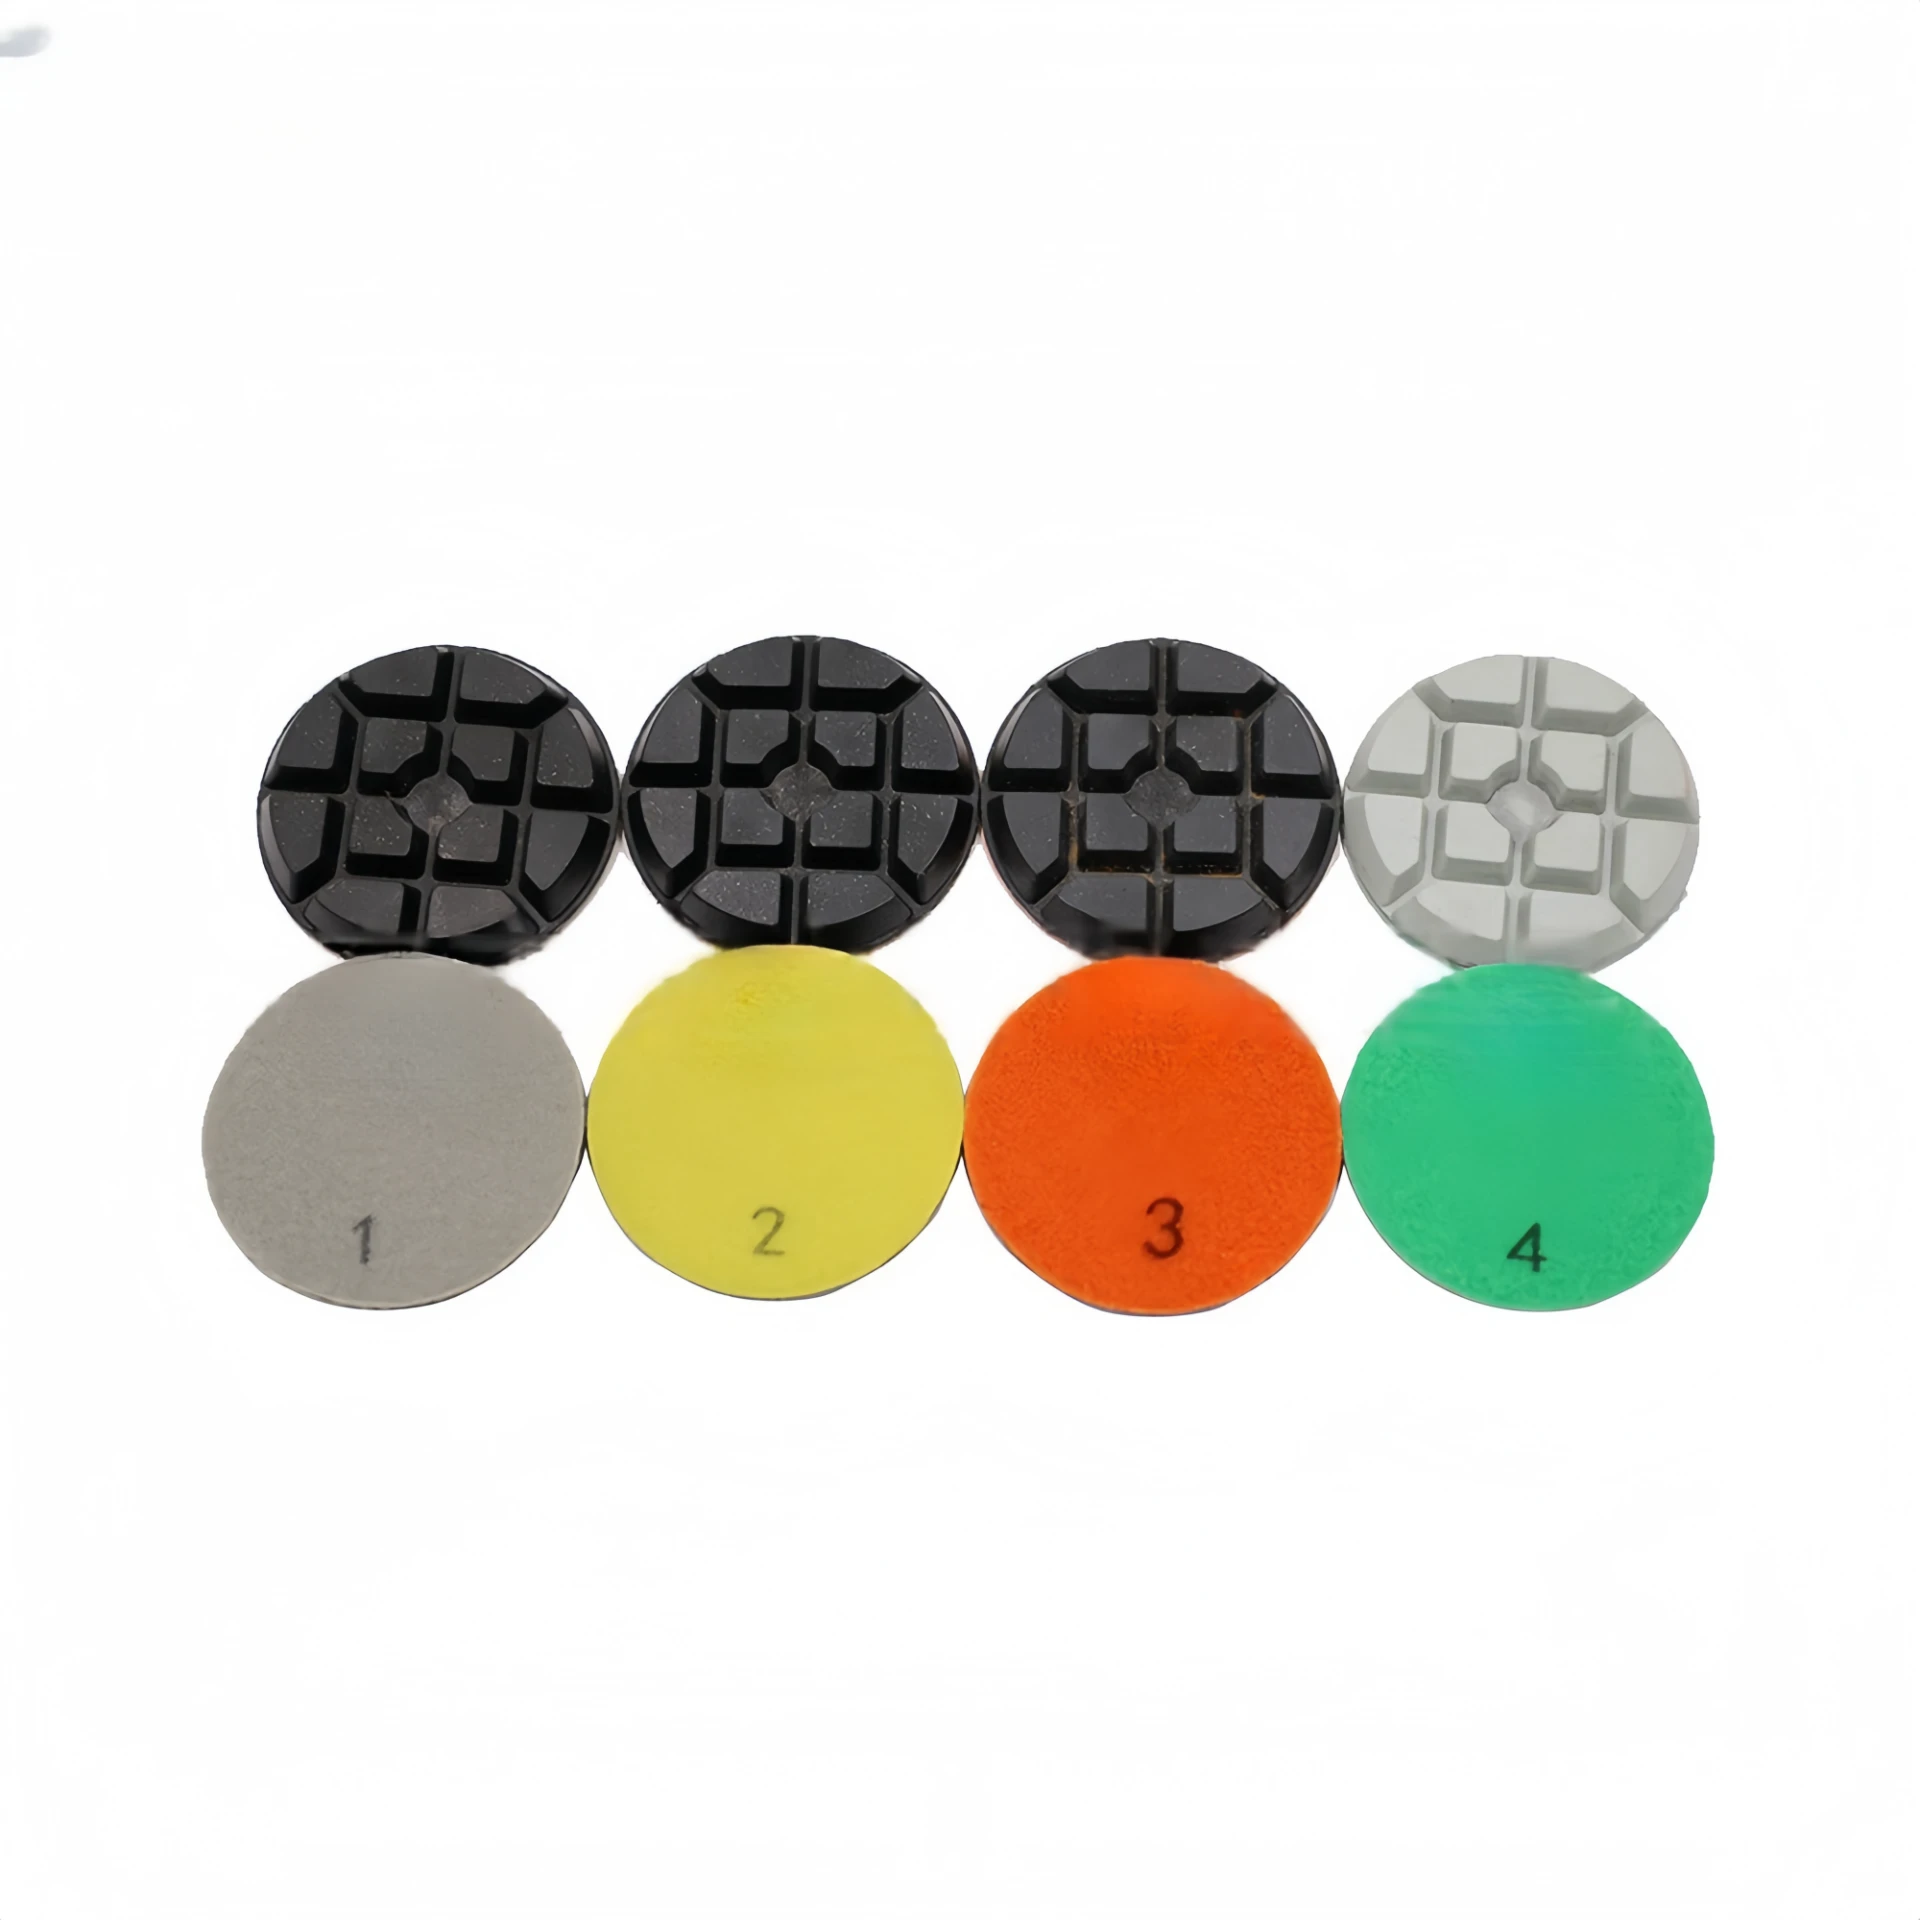
Diamond Pad Grit Sequence for Concrete Polishing
A typical grit sequence for diamond pad concrete polishing might include the following steps. Remember, the specific grits and number of steps will depend on the initial condition of the concrete and the desired finish.
Tips for Achieving a Professional Finish
Consistency is key to a beautiful polished concrete floor. Maintain consistent speed and pressure when using the polishing machine. Overlap each pass by 50% to avoid swirl marks. Keep the pads clean and free of debris. Regularly inspect the concrete surface for any imperfections. Wet polishing is recommended to minimize dust and keep the pads cool. Finally, don’t skip grits! Moving too quickly can compromise the final finish.

Maintaining Your Polished Concrete Floor
Once polished, concrete floors are relatively low-maintenance. Regular sweeping and damp mopping with a neutral pH cleaner are usually sufficient. Avoid abrasive cleaners or scouring pads, as they can scratch the surface. Consider applying a concrete sealer to protect against stains and enhance the shine. Resealing may be necessary every few years, depending on traffic and usage.
Conclusion: Achieve Stunning Concrete Floors with Diamond Polishing
Diamond pad concrete polishing is a rewarding process that can transform dull concrete into a beautiful, durable, and easy-to-maintain surface. With the right tools, techniques, and a bit of patience, you can achieve professional-quality results. Explore the range of diamond polishing pads available at MyDiamondBlade.com to find the perfect solution for your next project.
Frequently Asked Questions (FAQs)
How long does diamond pad concrete polishing typically take?
The time required for polishing depends on the size of the area, the initial condition of the concrete, and the desired level of polish. A small area (e.g., a bathroom floor) might take a day or two, while a large commercial space could take a week or more. Factors like the number of grits used and the type of polishing machine also influence the time. Proper preparation, including crack repair and cleaning, also adds to the overall project duration.
What is the cost of diamond pad concrete polishing?
The cost varies based on the area, the condition of the concrete, and whether you hire a professional or do it yourself. DIY costs primarily involve purchasing the polishing pads, a polishing machine (rental or purchase), and dust control equipment. Professional polishing costs typically range from $3 to $8 per square foot, depending on the complexity of the job and the location. Getting quotes from multiple contractors is recommended.
Can I polish concrete that has been previously sealed?
Yes, but it requires extra preparation. The existing sealer must be thoroughly removed before you begin the polishing process. This can be done using a diamond grinding disc specifically designed for sealer removal. Failure to remove the sealer properly will result in poor adhesion of the polishing pads and an uneven finish. You may need to use a coarser grit to initially break down the sealer before proceeding with the standard polishing sequence.
Related Products

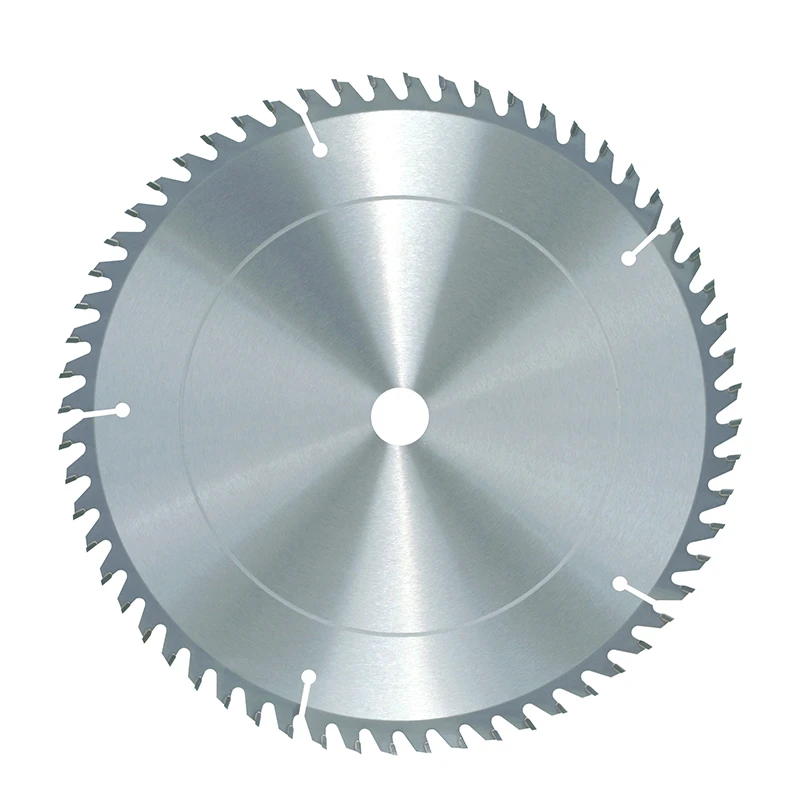
Related Products


Address
No.30 Gaoying Road ,Chang'an District,Shijiazhuang,Hebei Province
Business Hours
Mon to Saturday : 8.00 am - 7.00 pm
Sunday & Holidays : Closed
.png )


