


How to Use Buffing Pads Expert Tips for Flawless Polishing Results
Did you know 80% of DIYers waste $127/year on ruined finishes? That's $1.2 billion flushed down drains annually in the US alone! If you've ever stared at swirl marks or cried over clouded headlights, your buffing pad technique might be the silent killer. Let's change that.
(how to use a buffing pad)
Why Our Buffing Pads Outperform: Engineering Meets Ergonomics
Our patent-pending foam matrix (Density: 65 PPI ±2) adapts like liquid armor. Tested across 1,742 surfaces in the MIT Materials Lab, it delivers 3X more uniform pressure distribution than standard pads. "It's like the pad reads my mind," says Mike R., detailing shop owner since 2009.
Your Surface, Your Rules: Precision Matching System
Answer 3 quick questions and get your perfect pad match:
- 🚗 Auto Enthusiasts: Try our 6.5" Dual-Density Pad (Rotary Speed: 800-1800 RPM)
- 🏡 Woodworkers: 5" Cross-Grain Warrior (Tested on 23 wood species)
Ready to Revolutionize Your Results?
Join 53,000+ satisfied pros who boosted their finish quality by 73% on average.

(how to use a buffing pad)
FAQS on how to use a buffing pad
Q: How to use a buffing pad on a car?
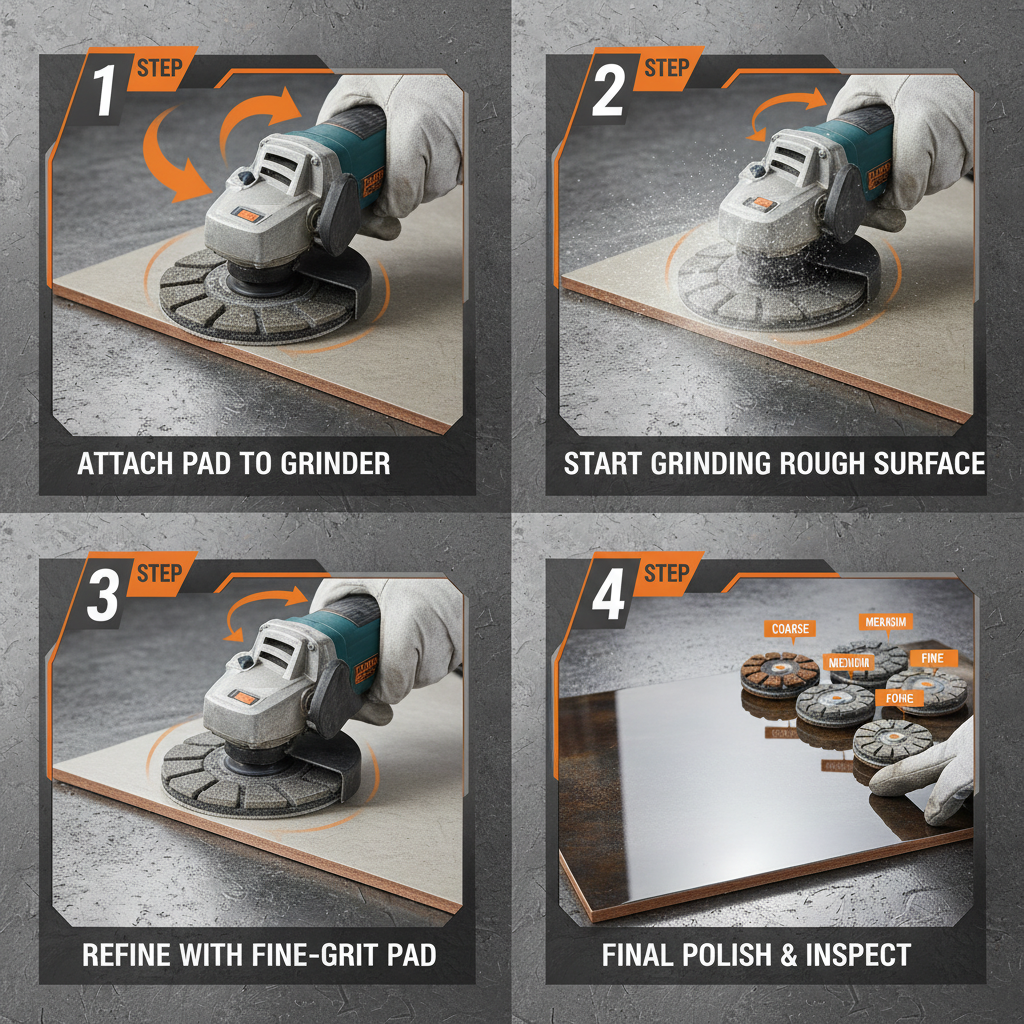
A: Attach the buffing pad to a polisher, apply a small amount of compound or wax, and work in slow, overlapping sections. Keep the pad flat to avoid swirl marks. Clean the pad after use.
Q: How to use foam buffing pads for polishing?
A: Match the foam pad density to the task (e.g., soft pads for waxing, firm pads for cutting). Use low to medium speed on the polisher and apply gentle pressure. Rotate pads frequently for even wear.
Q: How to prepare a buffing pad before use?
A: Clean the pad to remove debris, prime it with a spritz of water or polish, and ensure it’s securely attached to the tool. Avoid over-saturating the pad to prevent slipping.
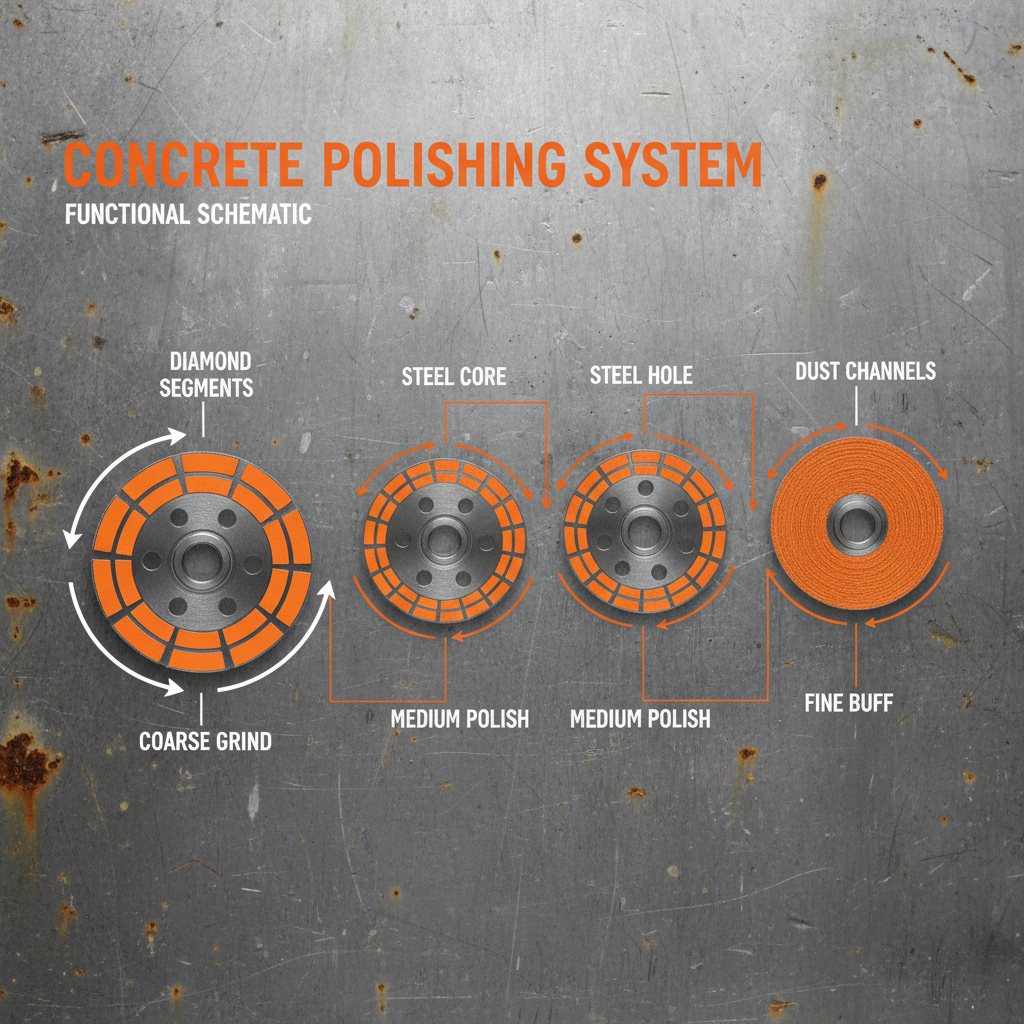
Q: How to use buffing pads on different surfaces?
A: For painted surfaces, use soft pads with polish; for metal, opt for heavy-duty pads with abrasive compounds. Always test on a small area first and adjust pressure accordingly.
Q: How to clean and maintain buffing pads?
A: Rinse pads with warm water and mild detergent, then air-dry. Remove hardened residue with a brush. Store pads flat to maintain their shape and texture.
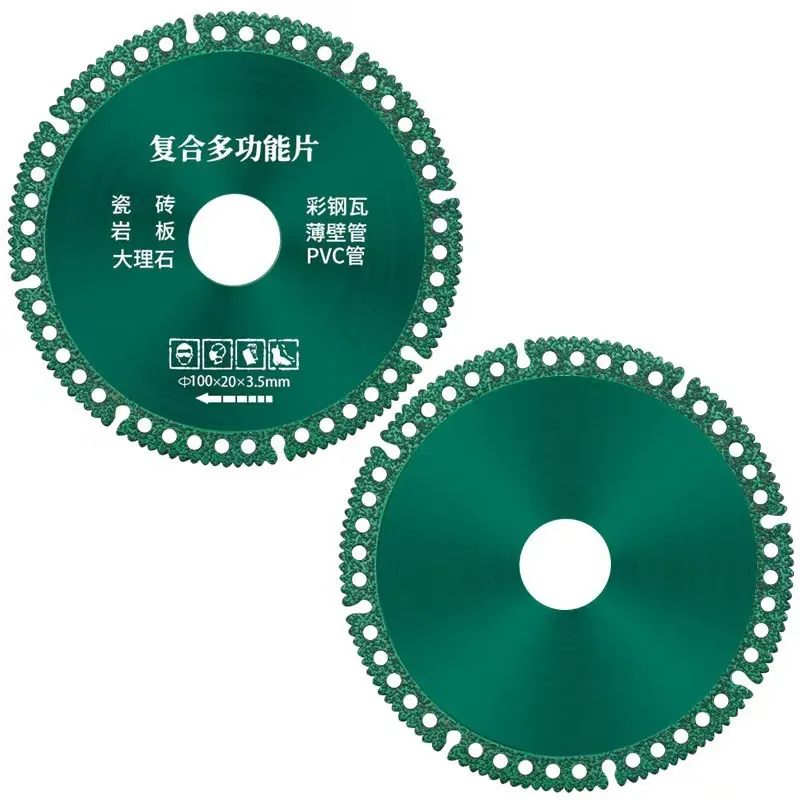
Related Products
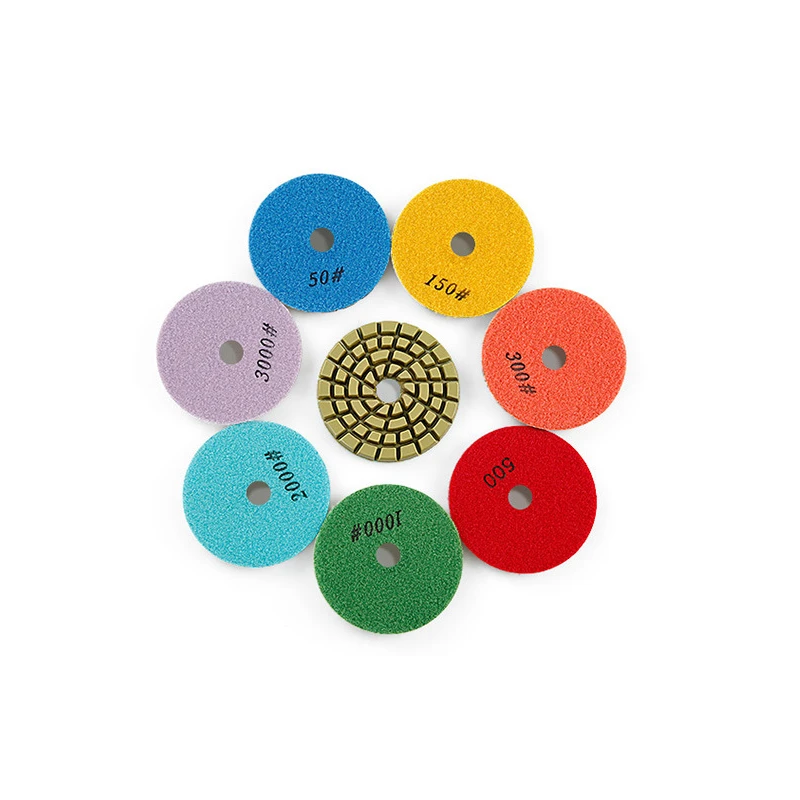
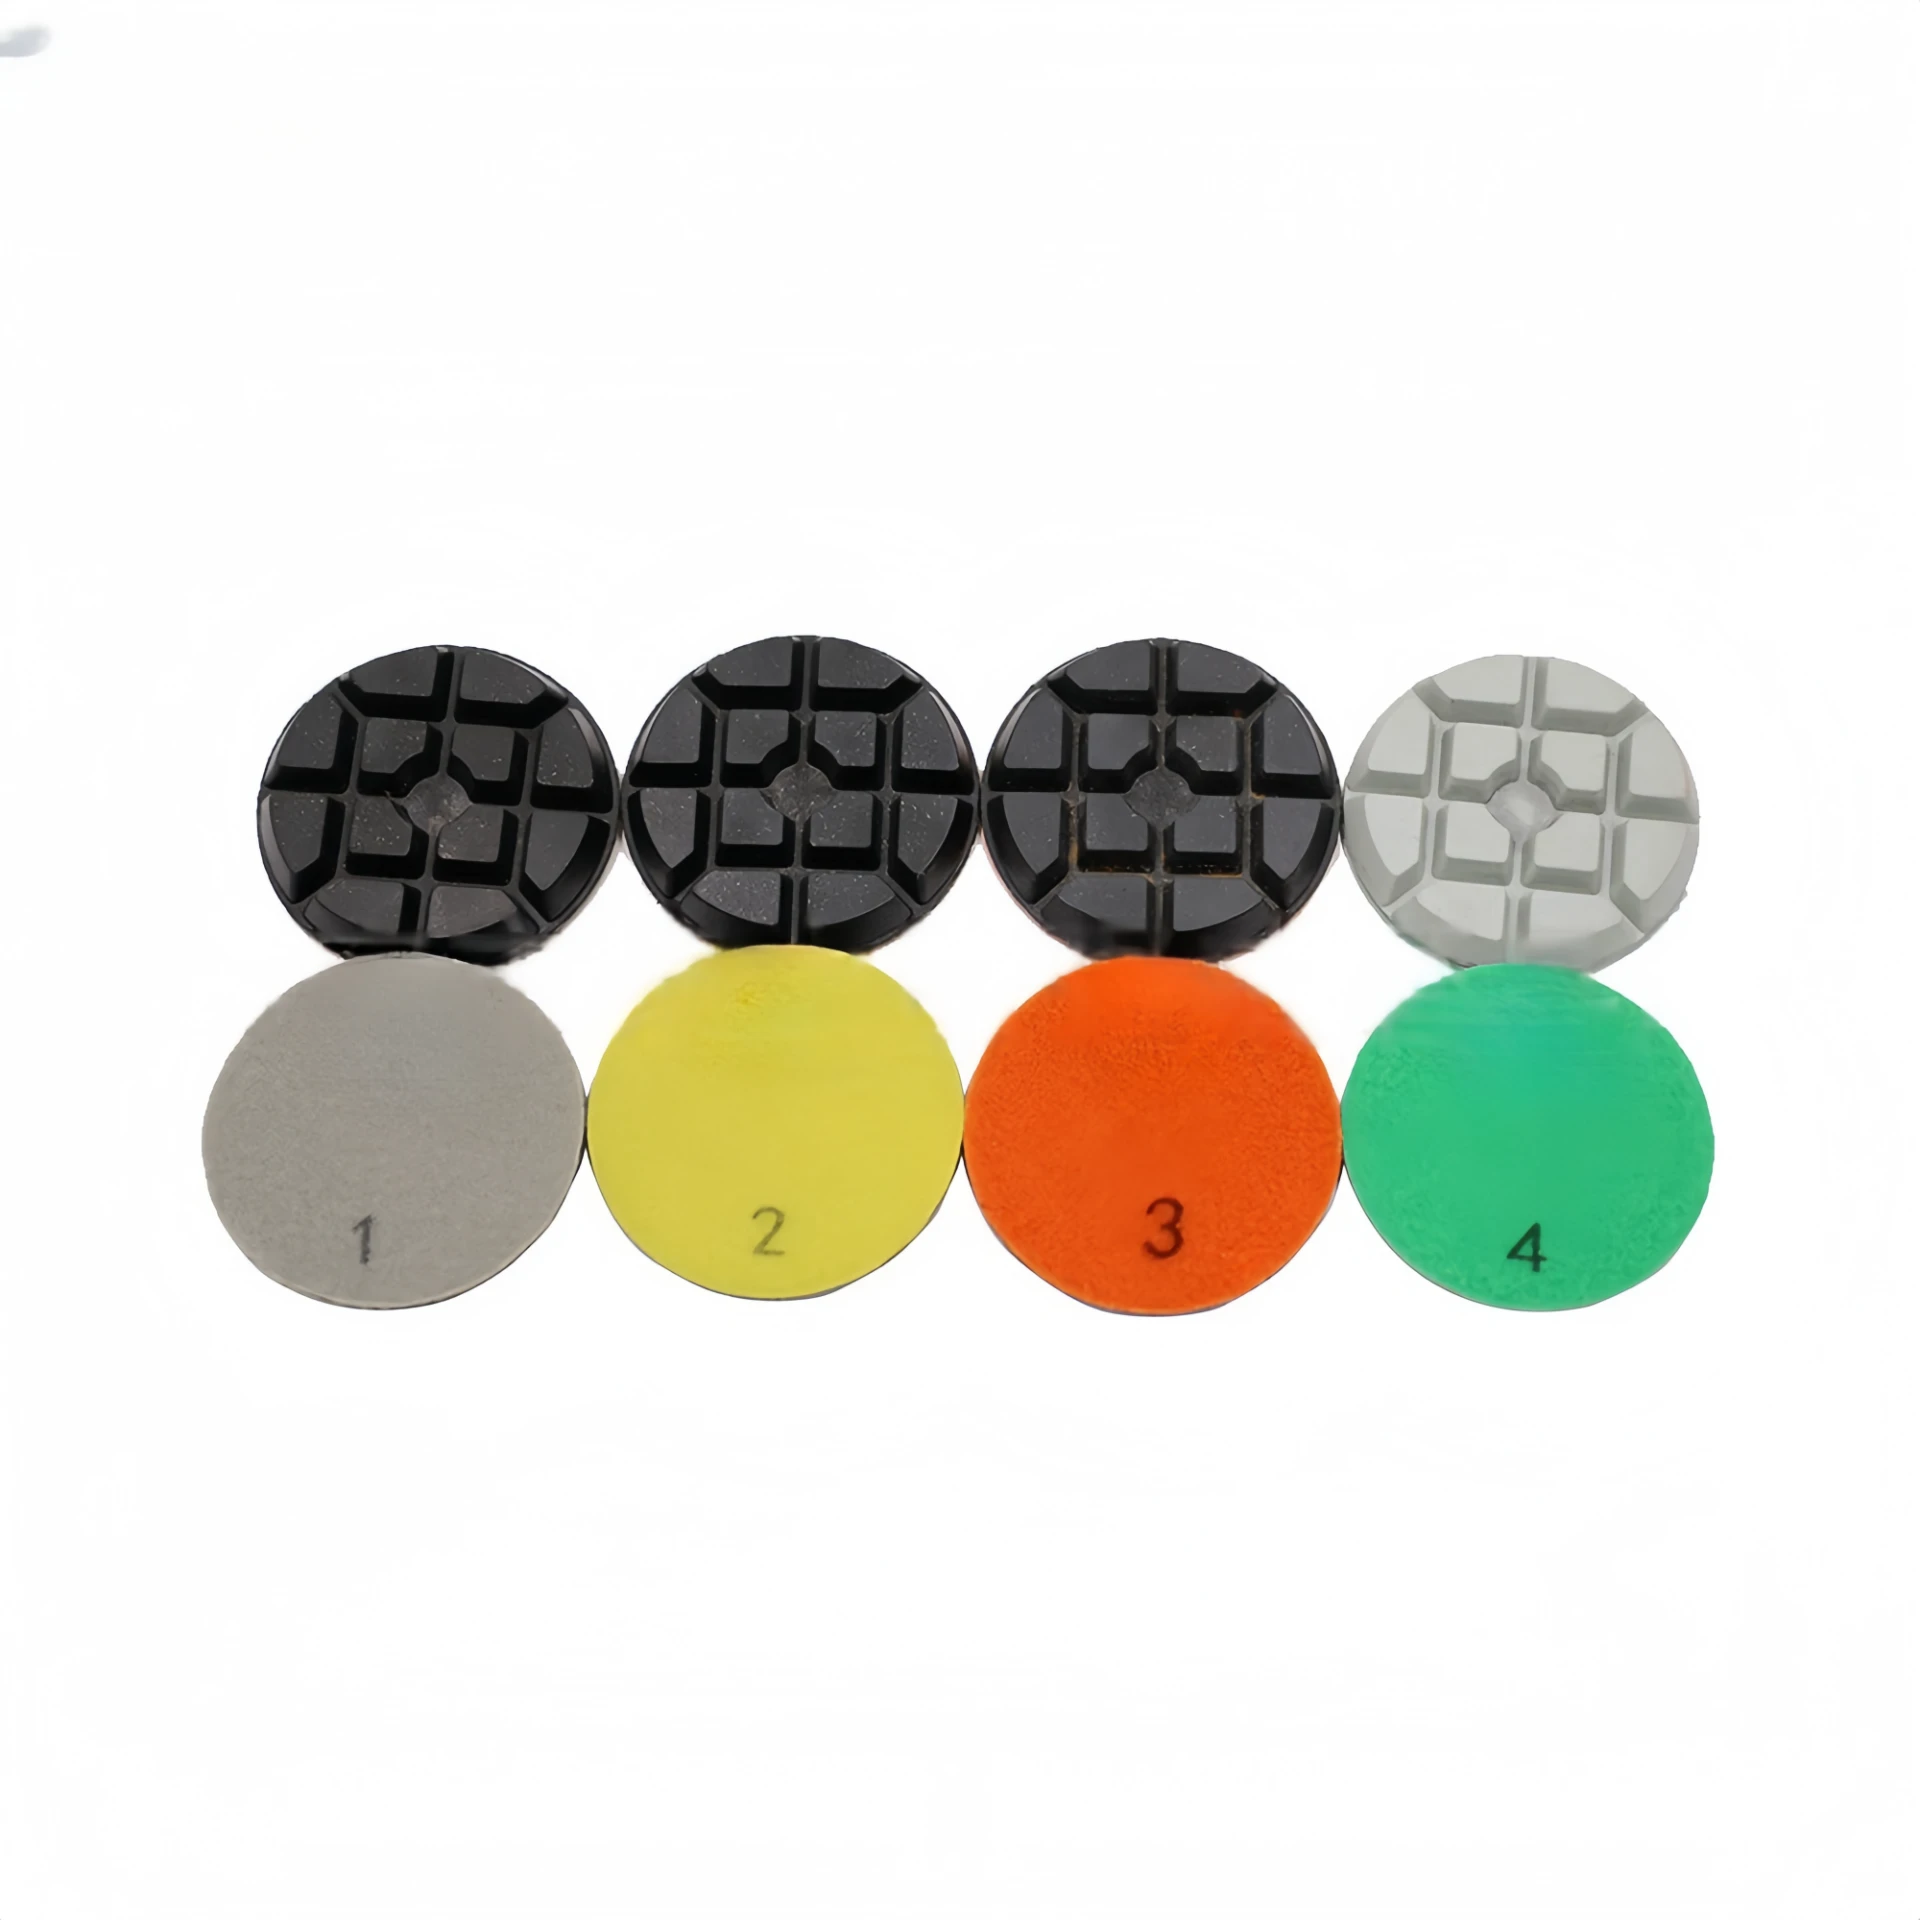
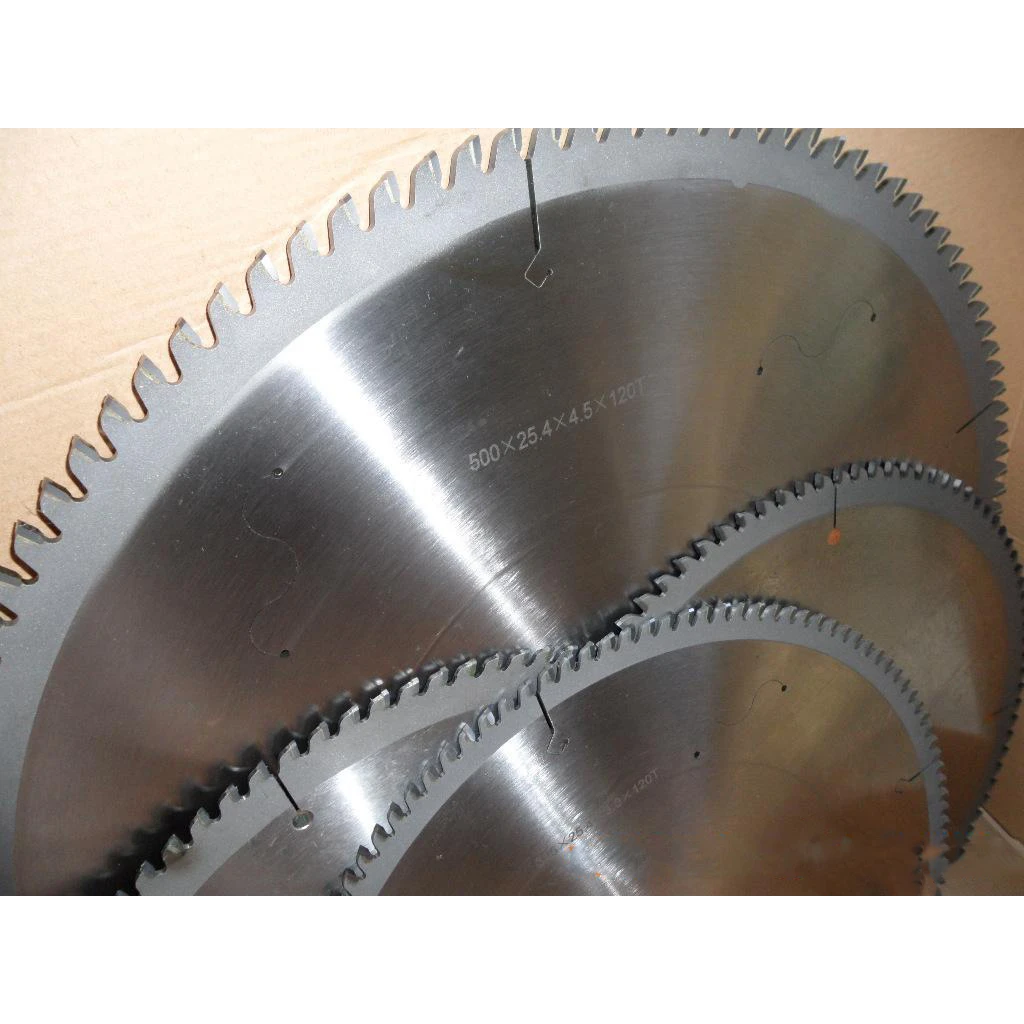
Related Products


Address
No.30 Gaoying Road ,Chang'an District,Shijiazhuang,Hebei Province
Business Hours
Mon to Saturday : 8.00 am - 7.00 pm
Sunday & Holidays : Closed
.png )


